My Brooklyn apartment kitchen has 28 inches of usable counter. I am not exaggerating. There is a strip between the sink and the stove, and that is it. For a long time I thought that meant I was limited to stovetop cooking and the occasional sad use of the full-size oven that heats the whole apartment to 85 degrees in July. Then I started treating my Ninja 4QT Air Fryer as a primary cooking appliance instead of a snack gadget, and my relationship with that 28-inch strip changed completely.
If you are reading this, you probably already own an air fryer or you are seriously considering the Ninja 4QT. What you might not know is how to make it your entire meal-production system, not just a thing you use for frozen fries on Fridays. This guide is exactly that: a step-by-step approach to cooking breakfast, lunch, dinner, and snacks from scratch using only a compact 4-quart basket. No oven. No roasting pan. No clearing six square feet of counter to spread out.
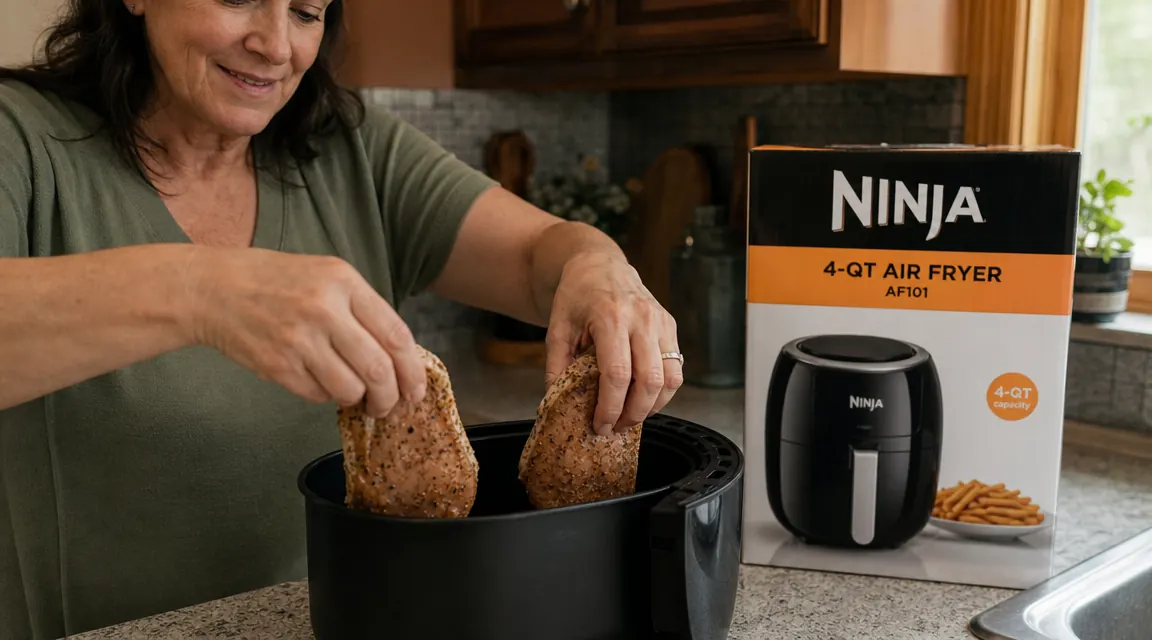
If you do not have a compact air fryer yet, the Ninja 4QT is the one I have used daily for 18 months in exactly this way.
It fits on a single standard shelf, stores the basket inside the unit, and the 4-quart capacity is the sweet spot for one to two people. Larger and the footprint jumps; smaller and you start having to cook in batches that wear you out.
Amazon Check Today's Price on Amazon →Step 1: Master the Temperature Logic First
Before you cook a single thing, spend ten minutes understanding why air fryers cook differently from ovens. An air fryer is a small convection oven with a powerful fan very close to the food. Heat circulates fast and hits the food from multiple angles. The practical result: food cooks faster, browns harder, and dries out more quickly than you expect if you just guess at timing.
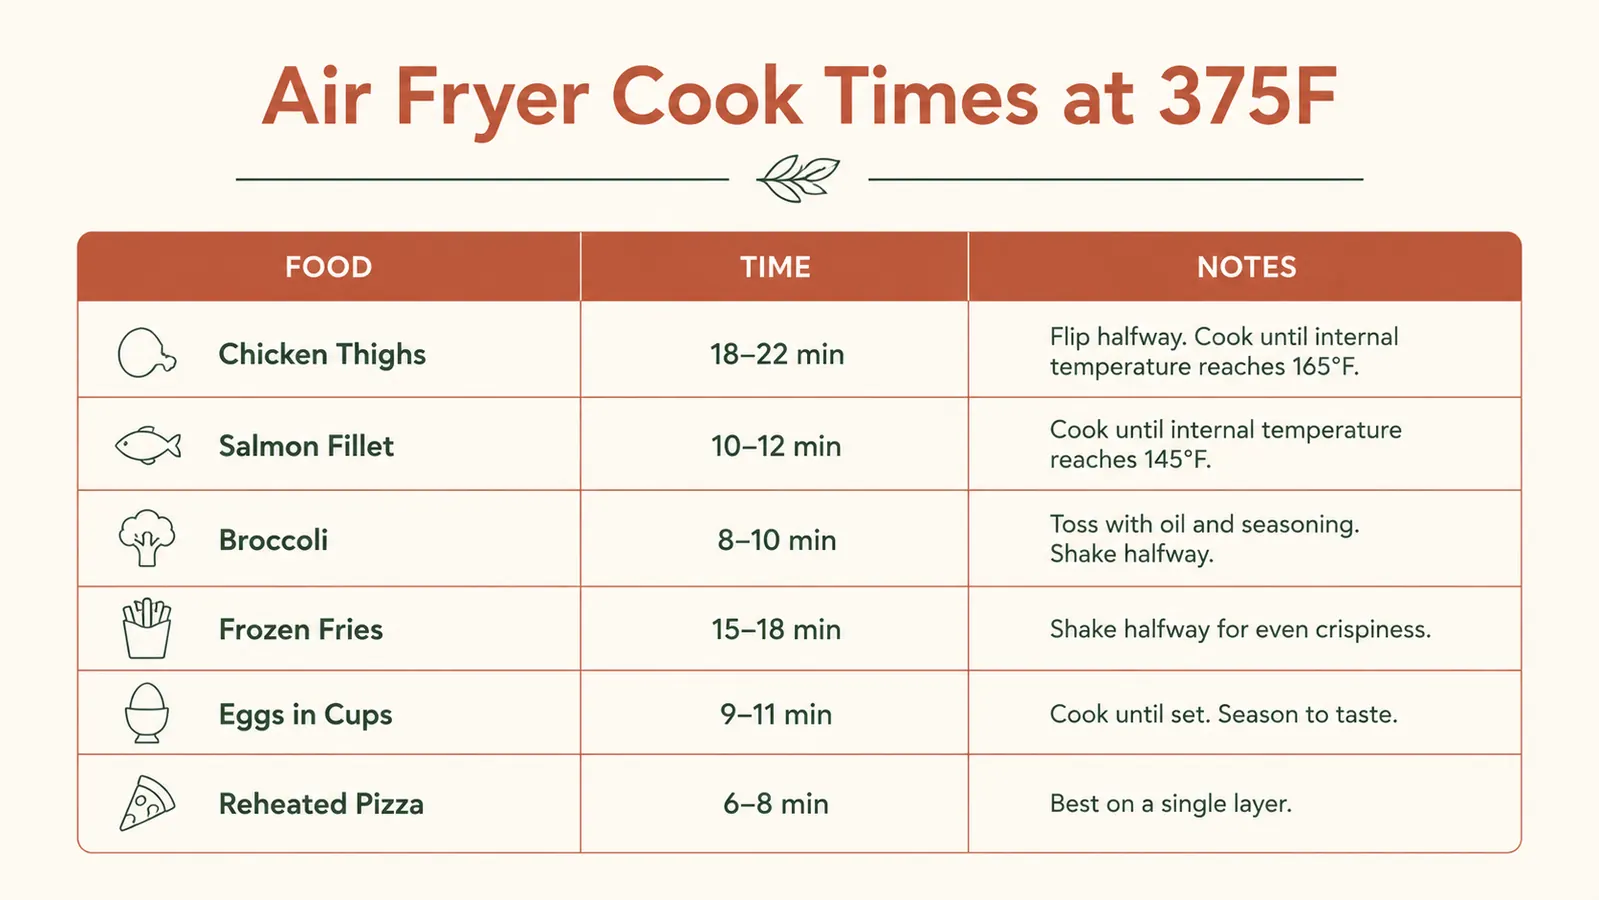
The Ninja 4QT runs cleanly between 300 and 400 degrees Fahrenheit. For most proteins, 375 degrees is your home base. Vegetables that you want caramelized go at 400 for a shorter window. Anything you are reheating should sit at 325 to 340 to warm through without overcooking the exterior. Memorize those three zones: 375 for proteins, 400 for crisping vegetables or getting a real crust, 325 to 340 for reheating. Most of this guide will return to those numbers.
One more thing: the Ninja 4QT does not need a long preheat. Three to four minutes at your target temperature is enough. I set mine for four minutes while I season food. Do not skip it. Cold-start cooking produces uneven results, especially with proteins.
Step 2: Build a Real Breakfast in One Basket
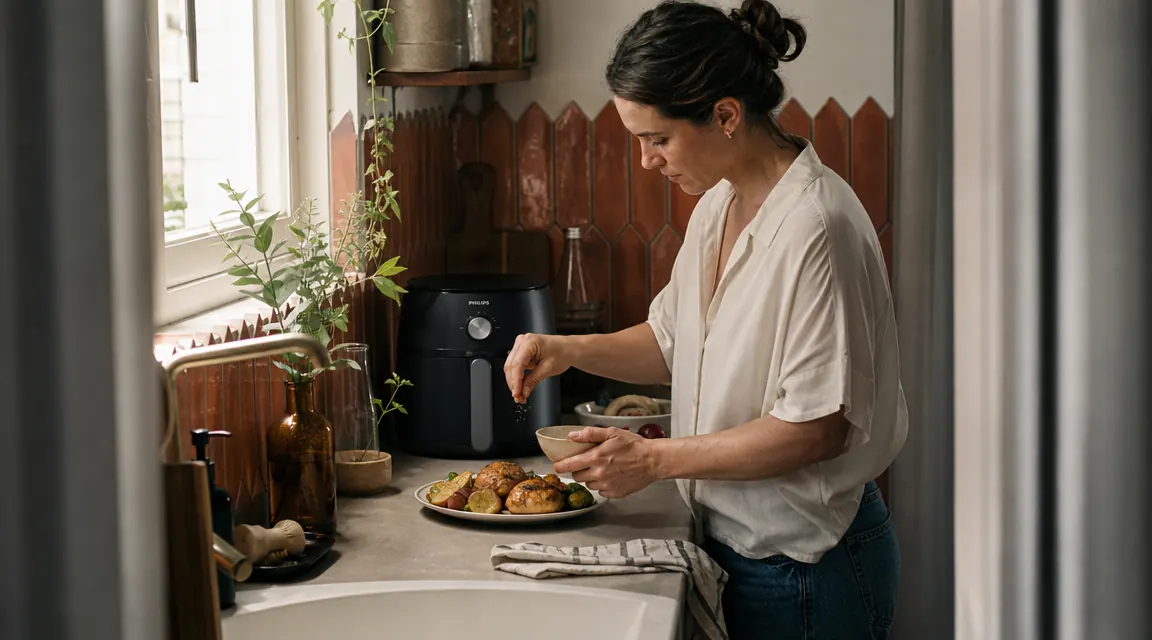
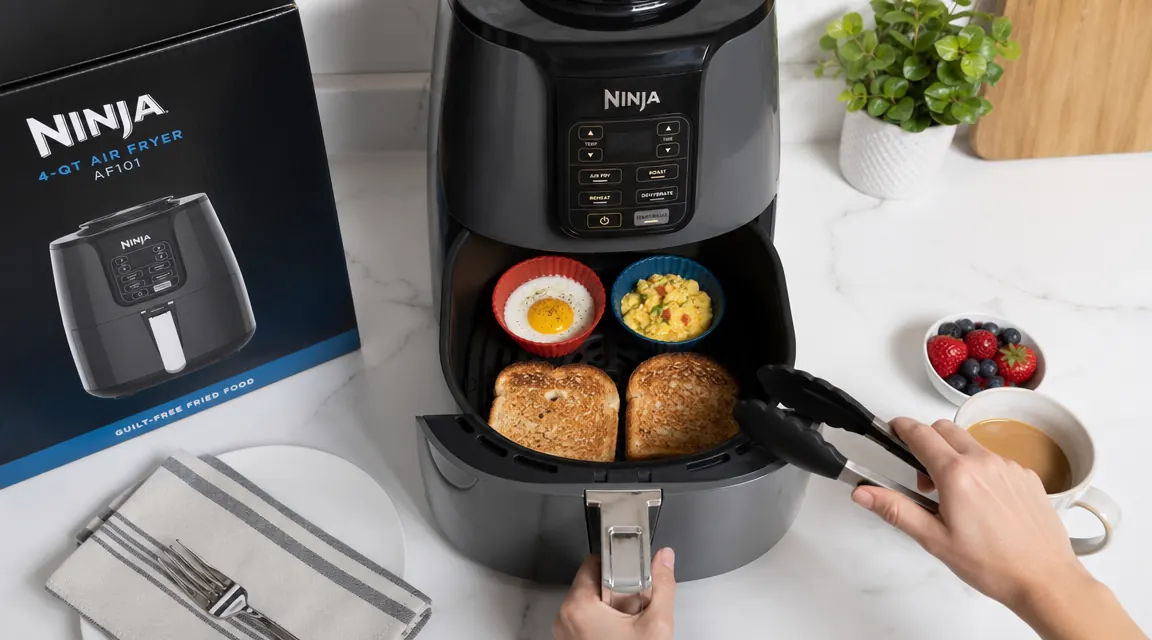
Breakfast is where most people underestimate the air fryer. You can do a complete hot breakfast in under 15 minutes without touching the stovetop. My go-to is two eggs in silicone baking cups alongside two slices of thick-cut bread. Set the temperature to 330 degrees. Place the silicone cups with cracked eggs in the basket first, then stand the bread pieces upright along the sides of the basket so they lean against the walls. Cook for 8 minutes. The eggs set with runny yolks, and the bread comes out toasted on both sides. Plate it in two minutes and you are done.
For a heavier breakfast, swap the toast for two strips of thick-cut bacon laid flat and two small potato wedges. Cook bacon and potatoes at 375 degrees for 12 minutes, flipping the bacon halfway through. The potatoes come out with a crispy exterior and soft center. The bacon finishes without grease splatter on the wall behind your stove. For a small kitchen, that alone is worth something.
Step 3: Cook Proteins for Lunch and Dinner Without Babysitting
Proteins are where the Ninja 4QT earns its counter inches. The convection airflow means you can walk away for most of the cook time. My standard weeknight dinner is two bone-in, skin-on chicken thighs seasoned with olive oil, salt, garlic powder, and smoked paprika. They go in at 375 degrees for 22 to 24 minutes. I flip them at the 12-minute mark. The skin comes out genuinely crispy, not the wet-steamed disaster you get from a microwave or a covered pan.
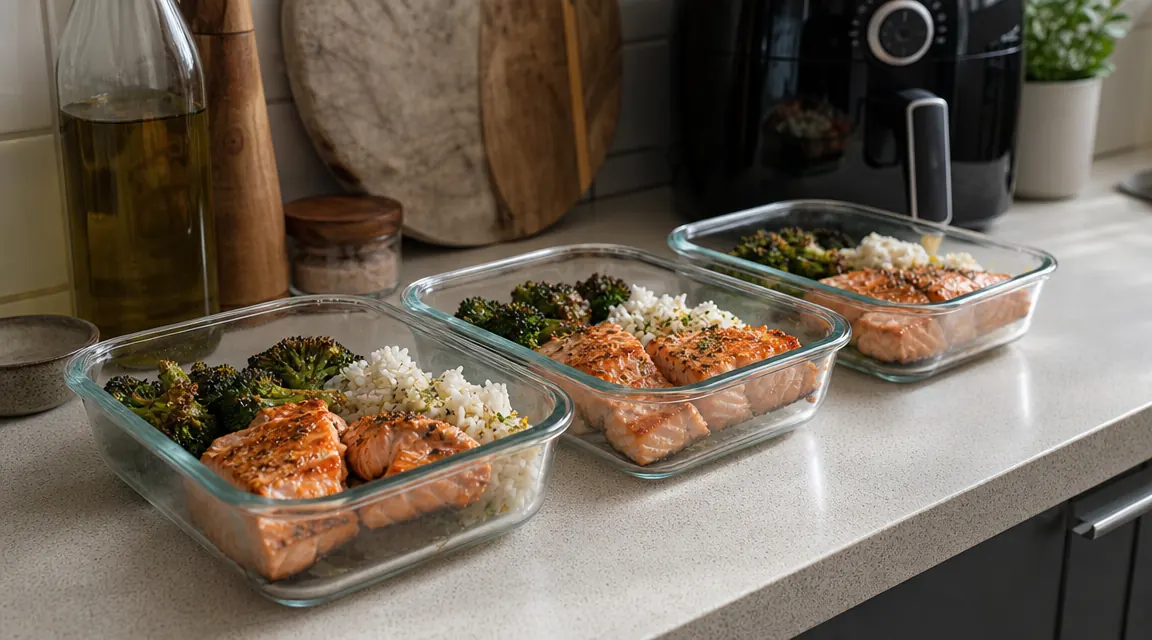
Salmon fillets at around six ounces each cook in 10 to 12 minutes at 375 degrees with no flipping required. Season with lemon juice, dill, and a pinch of salt. Place skin-side down on a small piece of parchment cut to fit the basket bottom (this prevents sticking and makes cleanup a 30-second job). The flesh flakes cleanly and holds moisture better than a stovetop pan where you have to watch the heat constantly.
For red meat, thin-cut steaks up to three-quarters of an inch cook in 8 to 10 minutes at 400 degrees, flipped once. Thicker cuts work too but benefit from resting on a small cutting board for five minutes after cooking. The basket holds two of most proteins comfortably. Three is possible with smaller pieces like shrimp or fish. Four is where you start compromising the airflow and losing the crisp factor that makes air fryer cooking worth doing.
The basket holds two of most proteins comfortably. Four is where you start compromising the airflow and losing the crisp factor that makes air fryer cooking worth doing.
Step 4: Roast Vegetables So They Actually Taste Good
Roasted vegetables from an air fryer are better than most oven-roasted versions I have had, and I say that as someone who spent a decade using a real oven. The concentrated circulating heat caramelizes the exterior of broccoli, Brussels sprouts, zucchini, and asparagus in 10 to 14 minutes without turning on a 450-degree oven that radiates heat into your living space for the next hour.
Cut vegetables to roughly equal size so they finish at the same time. Broccoli florets should be about two inches. Zucchini should be half-inch rounds. Asparagus can go in whole if it fits without bending. Toss everything in a bowl with olive oil, salt, pepper, and whatever seasoning fits the meal. Do not skip the oil. Without it, vegetables dry out rather than caramelize. Cook at 400 degrees for 10 to 12 minutes, shaking the basket halfway through. You want edges that are starting to char, not pale steamed-looking florets.
The timing coincidence that makes full meals practical: most vegetables cook in 10 to 14 minutes at 400 degrees. Most proteins cook in 10 to 24 minutes at 375 degrees. You can start the protein, then run the vegetables in the last 12 minutes of the protein cook. Or cook the protein completely, pull it out, and run the vegetables while the protein rests. Both work. The second approach gives you cleaner flavor separation if you are cooking for people who do not like their chicken and broccoli sharing juices.
Step 5: Use Sequencing to Cook a Full Three-Course Meal
A single 4-quart basket can produce a three-course meal if you cook in sequence and use the resting time from each course to run the next. Here is a dinner sequence I use regularly for two people. Start with an appetizer: halved cherry tomatoes tossed in olive oil and balsamic, cooked at 400 degrees for eight minutes. They blister and concentrate into something that eats like a warm bruschetta topping. Pull them, plate them on toasted bread you made in Step 2. While that appetizer sits on the table, run the main course: two chicken thighs at 375 for 22 minutes. Pull them to rest. Immediately run the vegetables at 400 for 12 minutes. Plate everything together. Total elapsed time from starting the appetizer to serving the plate: under 50 minutes, with maybe 15 minutes of active work.
The internal links I reference across this site go deeper on the Ninja 4QT itself if you want the full product breakdown before committing to this approach. The Ninja Air Fryer 4QT long-term review covers 18 months of daily use and whether the basket coating holds up. The honest review covers what no one tells you upfront, including the one cleaning quirk that trips up first-time owners.
What Else Helps
A few tools make air fryer cooking genuinely faster and less frustrating in a small kitchen. Silicone baking cups are the first thing I recommend. They cost almost nothing, they fit the Ninja basket without modification, and they let you cook eggs, muffins, or individual portions of frittata without mess or sticking. A small pair of silicone-tipped tongs handles flipping without scratching the basket coating. A single half-sheet of parchment cut to 6x6 inches sits flat in the basket bottom and makes cleanup trivial for fish or anything with a wet marinade.
A simple digital thermometer removes all guesswork on proteins. The Ninja 4QT does not have a built-in probe, which is fine. A separate instant-read thermometer takes three seconds and tells you whether your chicken is at 165 or your salmon is at 130. In a small kitchen where you are often doing other things while food cooks, it is a better check than relying on time estimates that vary with the thickness of the cut and how full the basket is.
Finally, a small stainless bowl for seasoning and tossing vegetables before they go in the basket keeps your counter cleaner than using the cutting board for double duty. In a narrow kitchen, keeping tasks separated to their own small footprint is how you stay sane during the cook. The bowl takes up three inches. It is worth three inches.
Ready to cook real meals instead of snacks? The Ninja 4QT is the specific model this guide is built around.
It has the capacity to run the full meal sequences described above, the temperature range to crisp vegetables at 400 degrees and roast proteins at 375, and it has been in daily production use in a 28-inch-of-counter apartment for over a year and a half. Check the current price on Amazon before you buy elsewhere.
Amazon Check Today's Price on Amazon →